Ironside Tech Tip: Using CSS Classes to Manage Report Formatting

Difficulty: Medium
Required Ingredients: Two or more crosstabs, Report Studio, report formatting
Scenario:
You have two or more crosstabs on a Report Studio report. All of the crosstabs should have the same report formatting, which differs from the Cognos default.
While it’s possible to change the report formatting for each crosstab separately using the formatting tools of Report Studio, you would have to make the same changes independently for each crosstab. If changes are made in the future, they would have to be made again for each crosstab. Using CSS classes, a report author can standardize all crosstabs within a report without independently setting the formats for all crosstab elements.
Using CSS classes, it’s possible to change the default crosstab formatting for the entire report, which will ensure that each crosstab is formatted the same way with only a single formatting change.
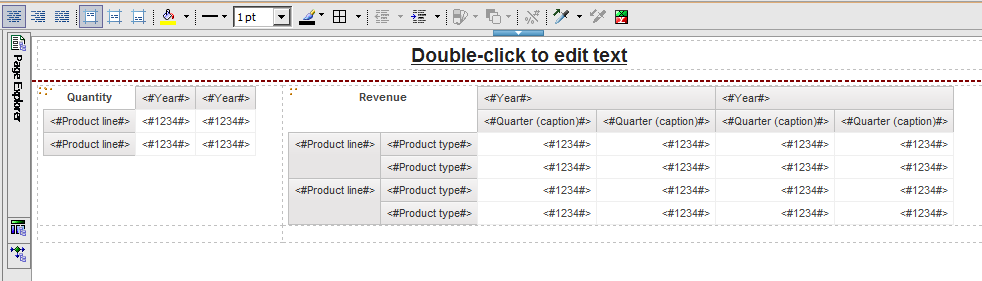
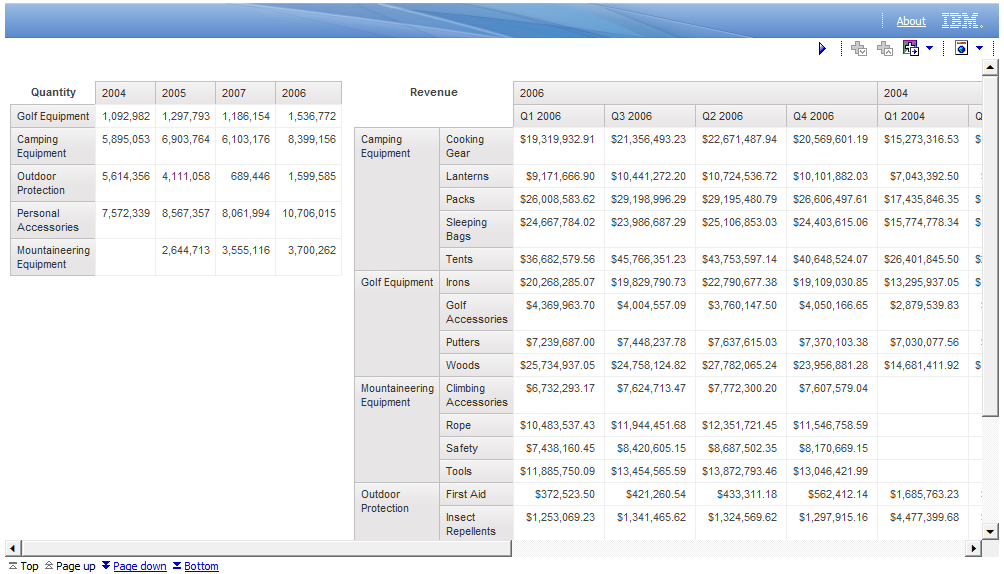
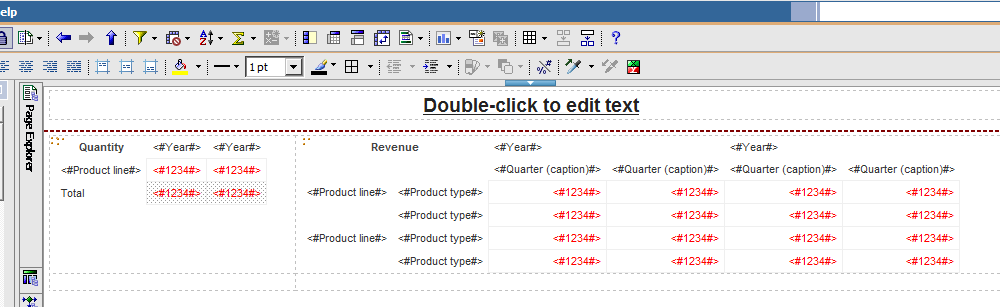
Step 1: Start with any report that has multiple crosstabs. (The report in these examples is taken from the GO Sales sample data, but any report will do.)
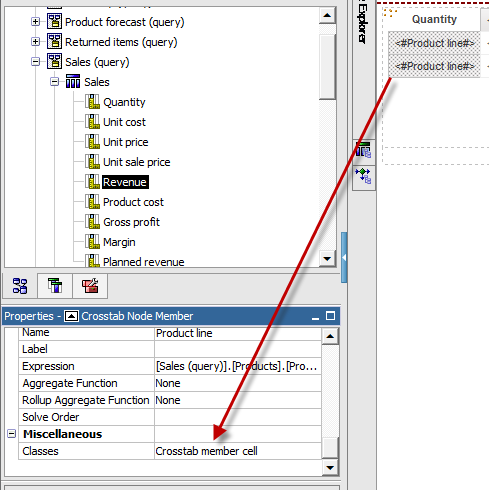
Step 2: Select the row members on one of the crosstabs and look at the Classes property (the last property in the list). Note the name of the class, Crosstab member cell.
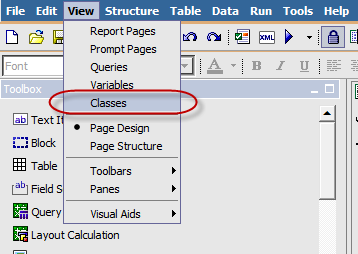
Step 2: From the View menu, select Classes.
Step 3: In the Global Class Extensions list, find Crosstab member cell.
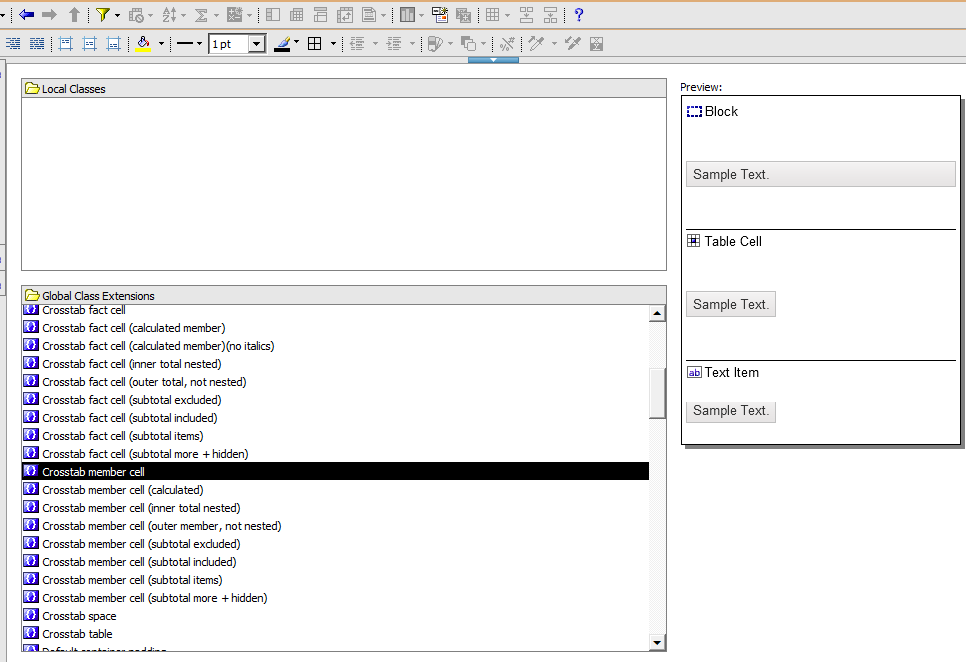
Step 4: Select Crosstab member cell. Observe that the report formatting samples on the right show how a member cell is displayed in the report.
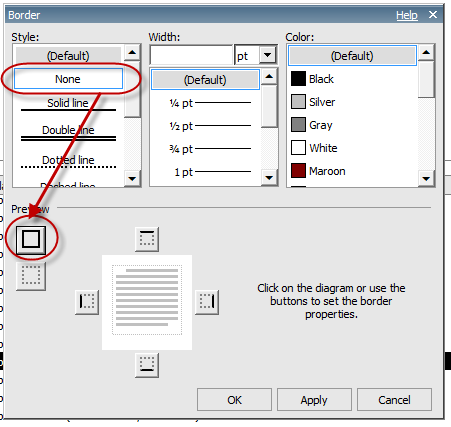
Step 5: Change the properties for Crosstab member cell as listed below.
- Background Image: None
- Background Color: Transparent
- Border: None (click None under Style, then the Apply All Borders button under Preview).
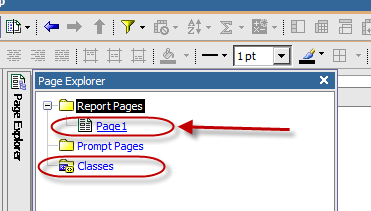
Step 6: Through the Page Explorer, return to the main report page. (Note that you can get to the Classes screen through the Page Explorer as well as the View menu.)
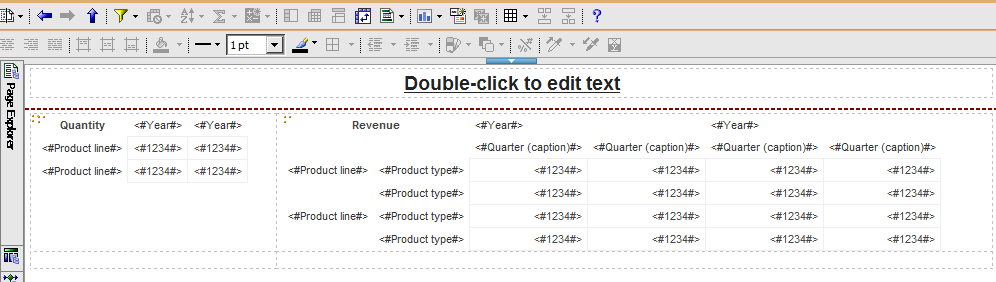
Step 7: Observe the crosstabs. Note that the report formatting for the rows and the columns of both crosstabs has changed. This is because the column members are part of the same class – you can check this in the Classes property.
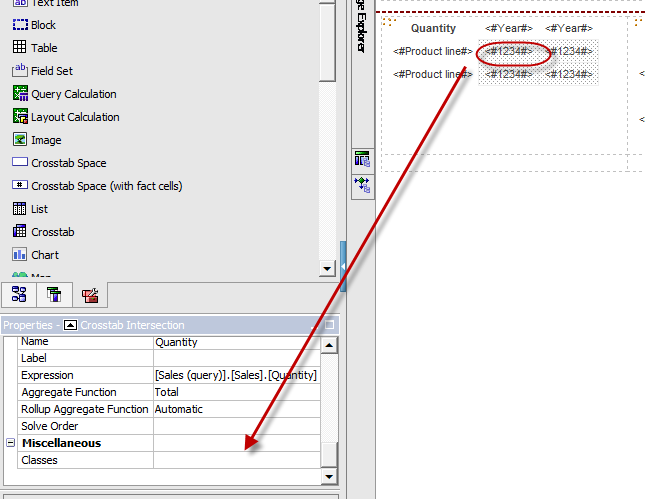
Step 8: Click a fact cell in one of the crosstabs so that Crosstab Intersection is shown in the Properties window, and look at the Classes property. It will be empty.
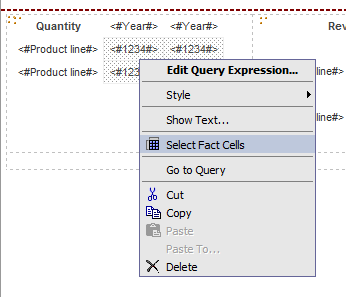
Step 9: Right-click on a fact cell and select Select Fact Cells. Now the Classes property will have a value, Crosstab fact cells.
Step 10: Open the Classes screen from either the View menu or Page Explorer. Locate Crosstab fact cell and change the Foreground Color property to red.
Step 11: Return to the report page. Observe that all the fact cells are now red.
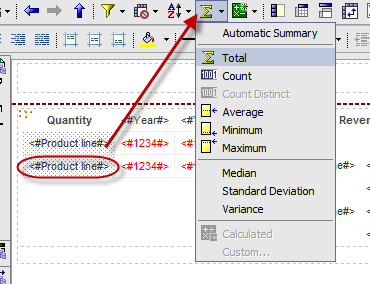
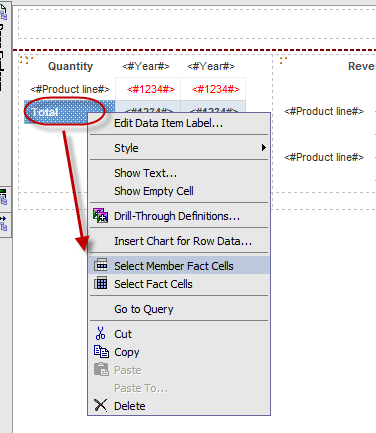
Step 12: Click on the row members of one of the crosstabs and create a total row. Note that the report formatting for the Total member and its fact cells is different from the other items in the crosstab.
Step 13: Click on the Total member cell, and observe the Classes property: Crosstab member cell (outer member, not nested).
Step 14: Click on the ellipsis in the Classes property to bring up the Classes dialog.
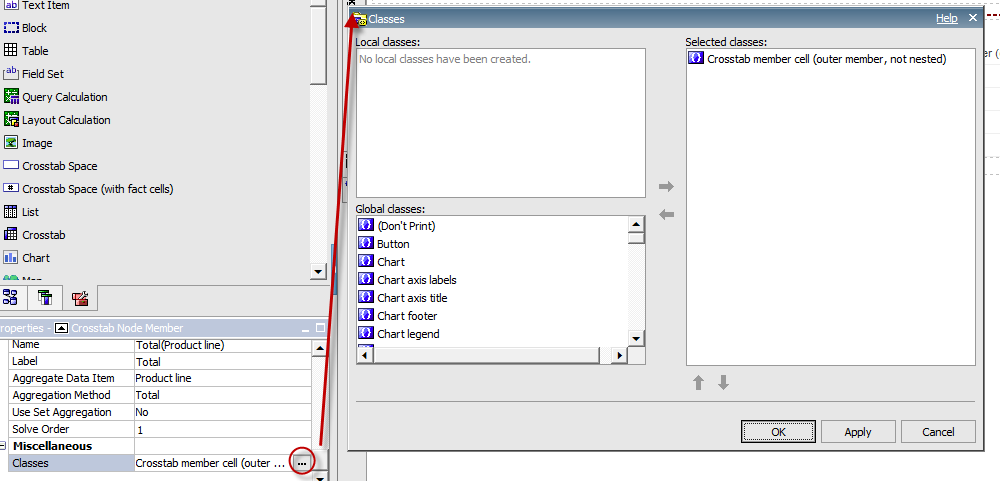
Step 15: Remove the Crosstab member cell (outer member, not nested) class from the Selected classes box, and add Crosstab member cell from the Global classes box. Observe that the formatting for the Total member changes to match the other member cells.
Step 16: Right-click the Total member cell, and select Select Member Fact Cells. Observe the Classes property: Crosstab fact cell (outer total, not nested).
Step 17: Go to the Classes dialog, remove the existing class, and add the Crosstab fact cell class. Observe that all the fact cells are now formatted the same.
Other Applications:
CSS classes can be used for crosstabs, lists, and other report elements in Report Studio. You can modify existing classes or create new ones to apply consistent formatting across multiple objects in a report. This makes it much easier to maintain formatting changes for large, complex report.